Monday, August 29, 2011

I made new things!

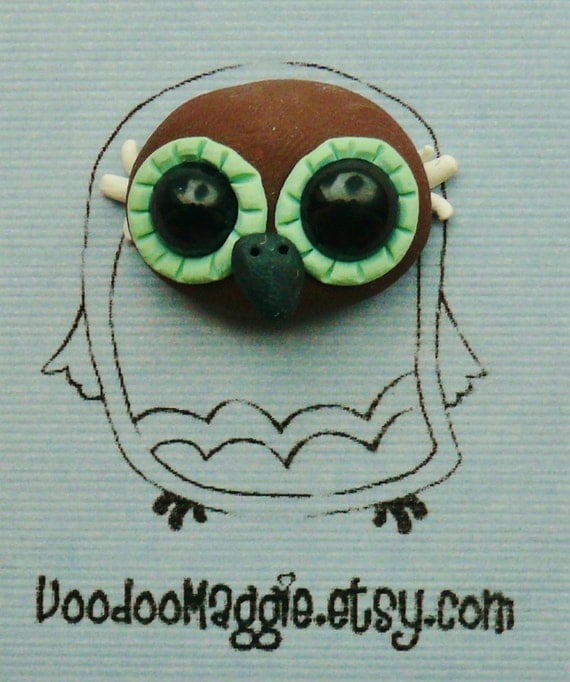
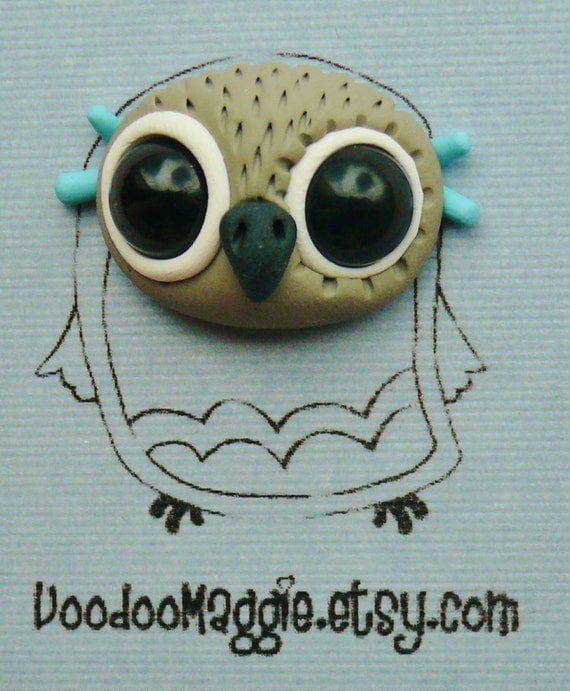
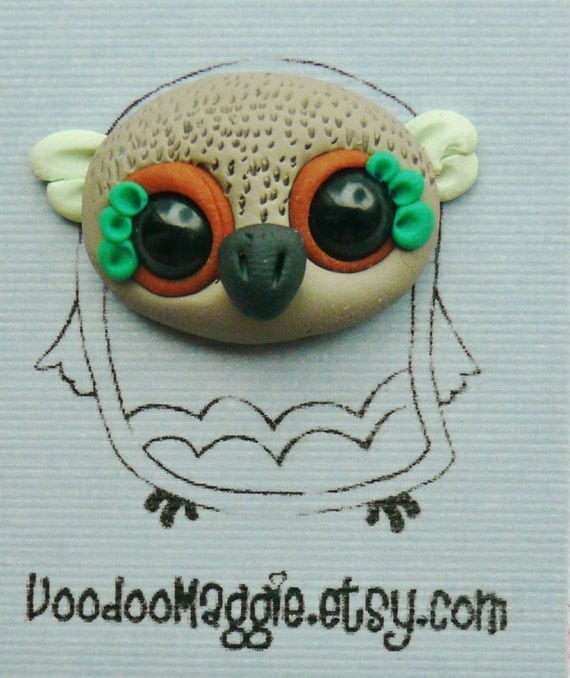
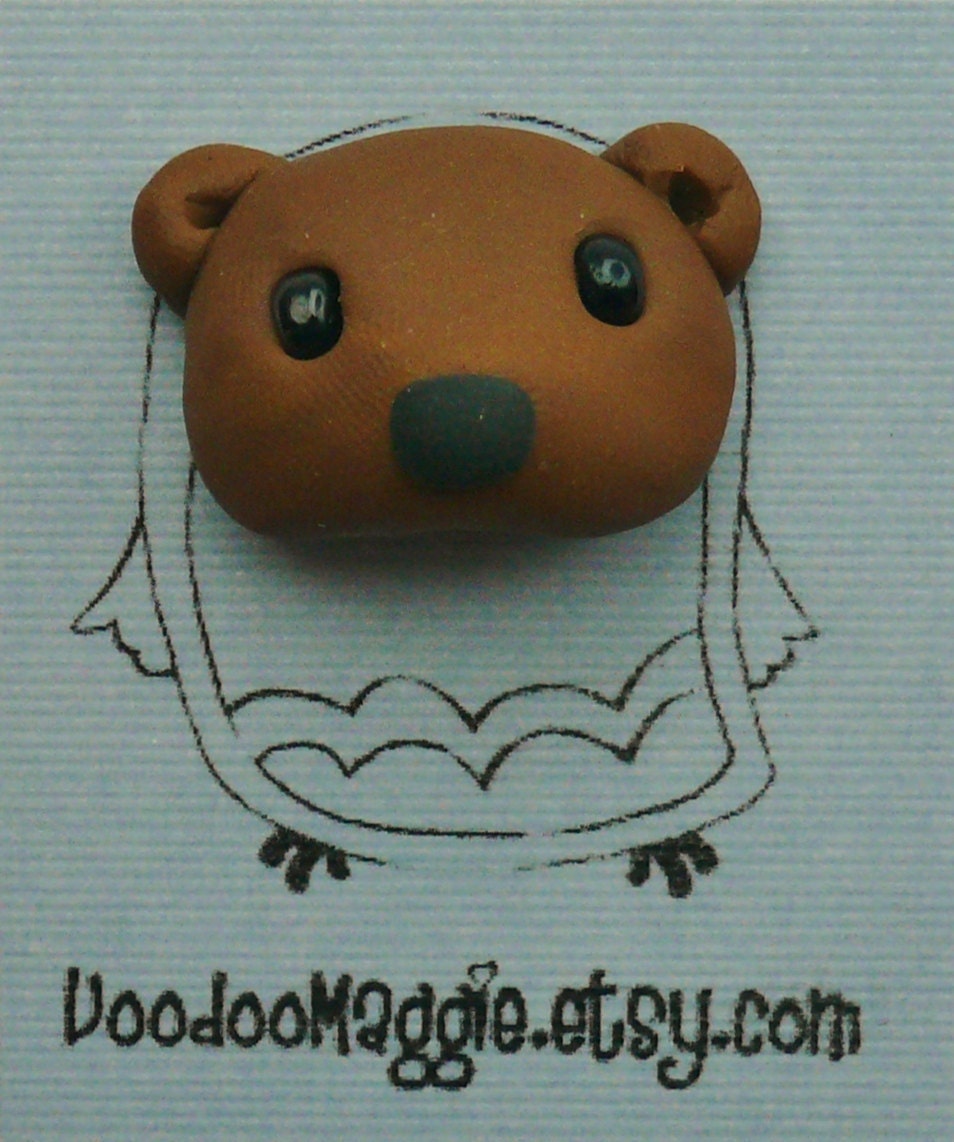
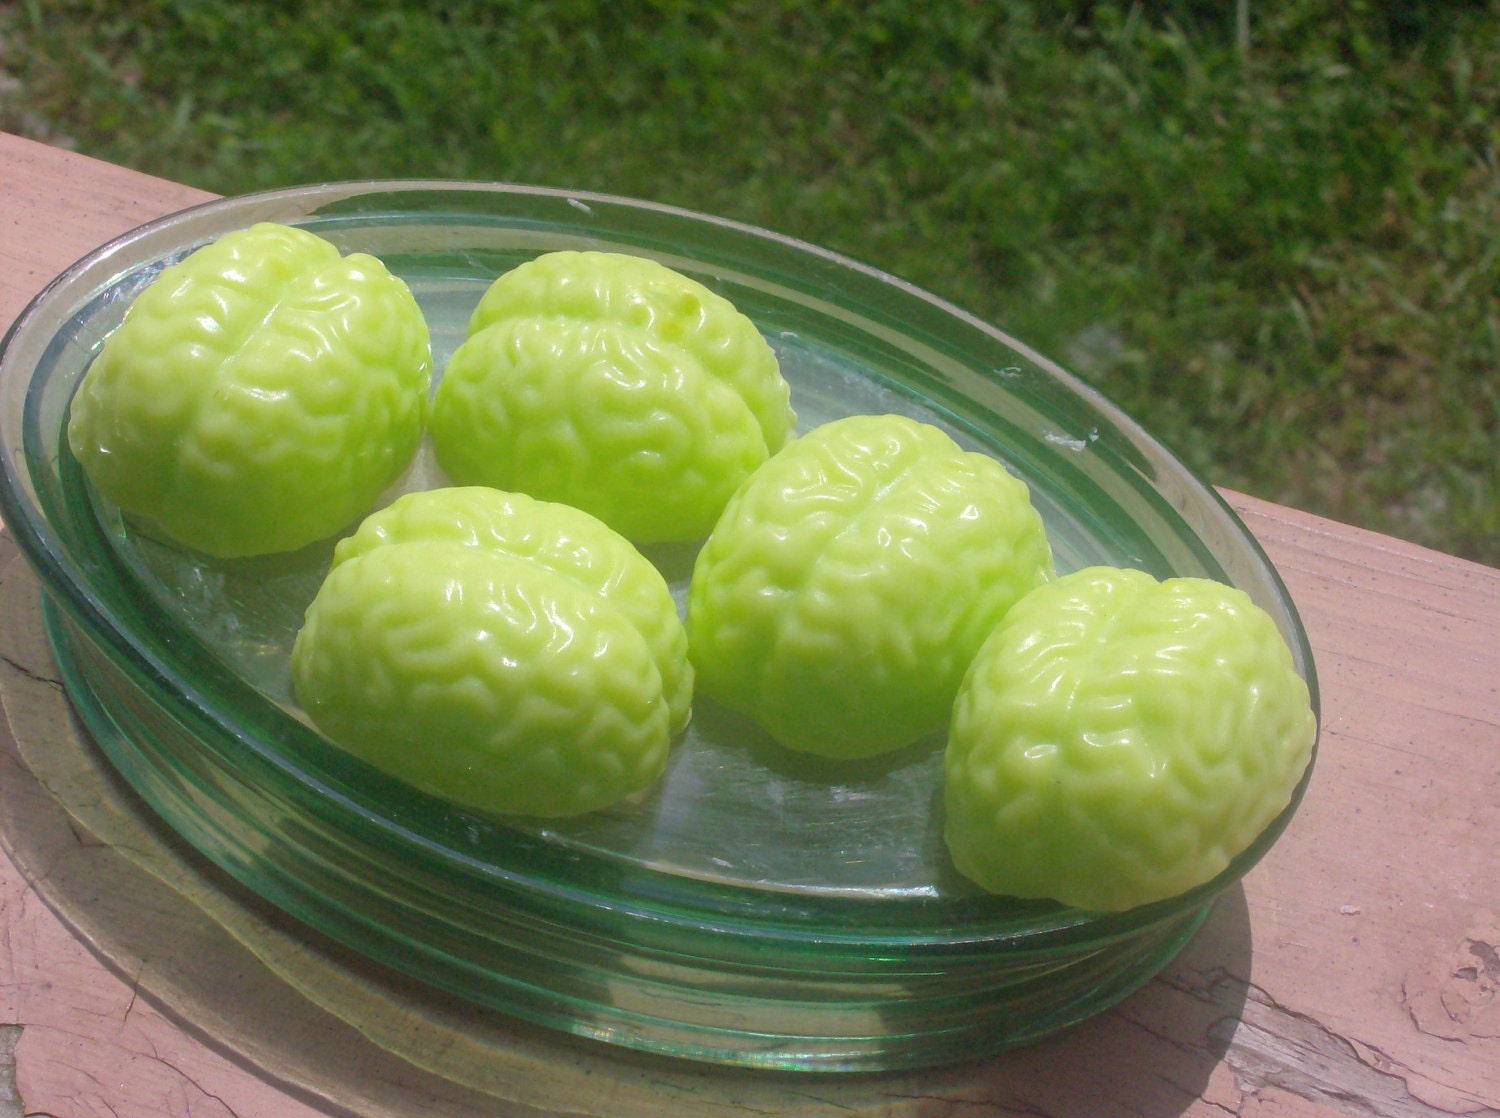
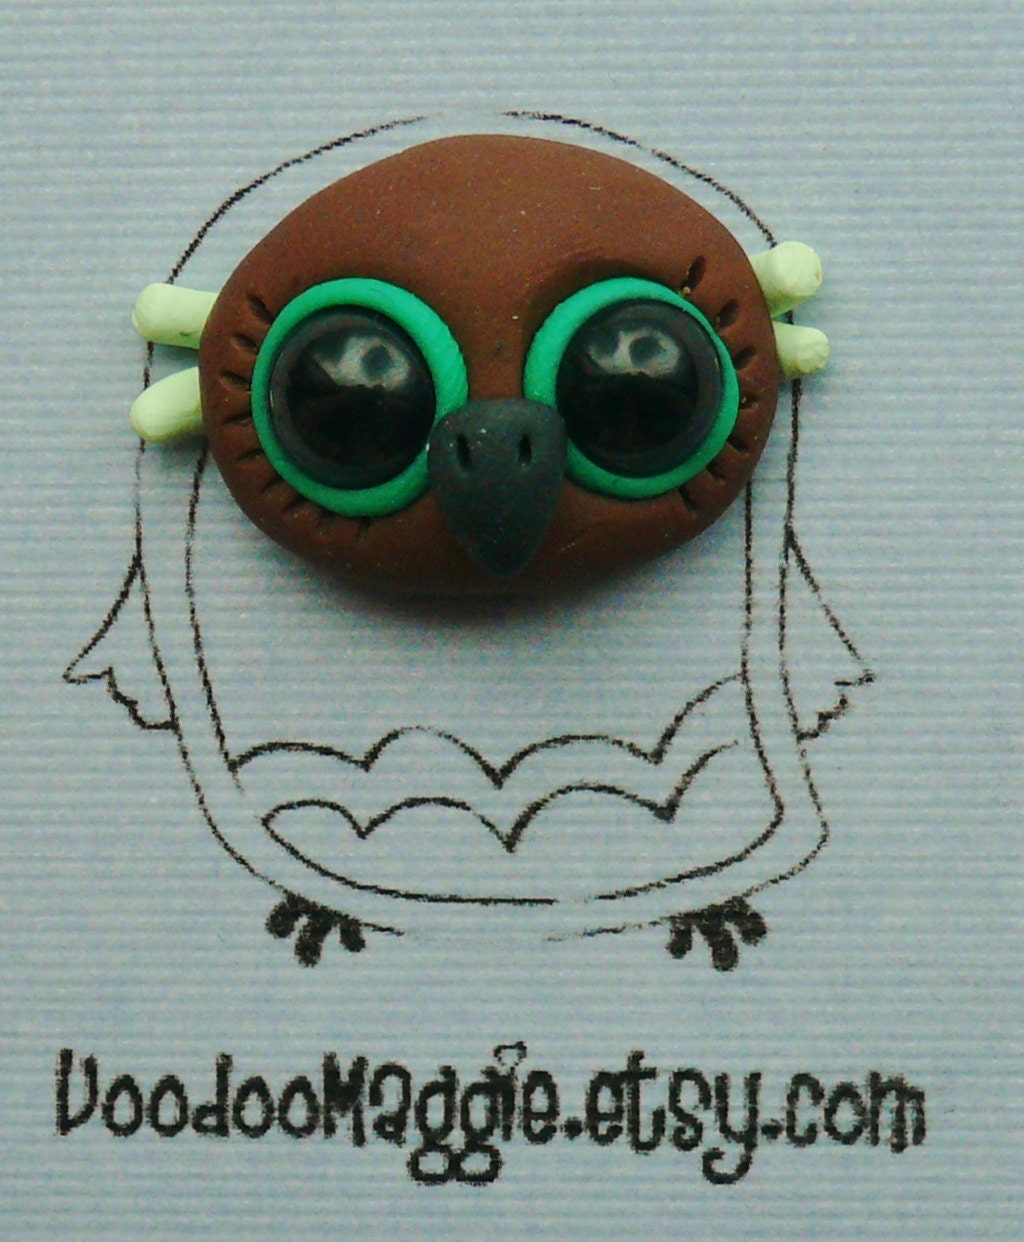
I told you I'd show when the were ready (and for once I actually did something in a timely manner). So here is what I've been working on lately. They are clay critters that will have a magnet or crocheted pin back added to it at the buyers request.


Tweet this awesome blog

Sunday, August 28, 2011

New stuff and I'm not dead

Wow, I have to get into the habit of blogging more regularly. I keep thinking about it and planning stuff to post, and even getting pictures for some of the stuff I plan. Then life happens all at once and I forget what I was doing. It's not a fact about me that I enjoy but, I often remind myself of Professor Philip Brainard I even lose my pencil/hook/needle about twenty times a day (often in my hair).

So until I can figured out how to manage/remember things better I will not be promising any anythings for future posts. They will just have to be a surprise from now on. I have some new stuff in the works that I am very excited about but you can't see until it's all the done. Which will be tomorrow, so join me then and have a look at some of what's been keeping me occupied.

Oh and my baby girl starts second grade tomorrow. I'm so excited and so is she.
Tweet this awesome blog

Saturday, July 23, 2011

Every day I'm shuffling

So I have been super amazing busy these past few weeks (I may need a bionic arm soon). But I have new patterns in my shop to show for it. Here are a few of my favorites.


And if I didn't have enough reason to love regretsy, it has brought this gem into my life


How can you not be happier after watching that? (If you want your own Dancing Dror video go here)

Oh and I almost forgot the offical list of accepted pattern names;


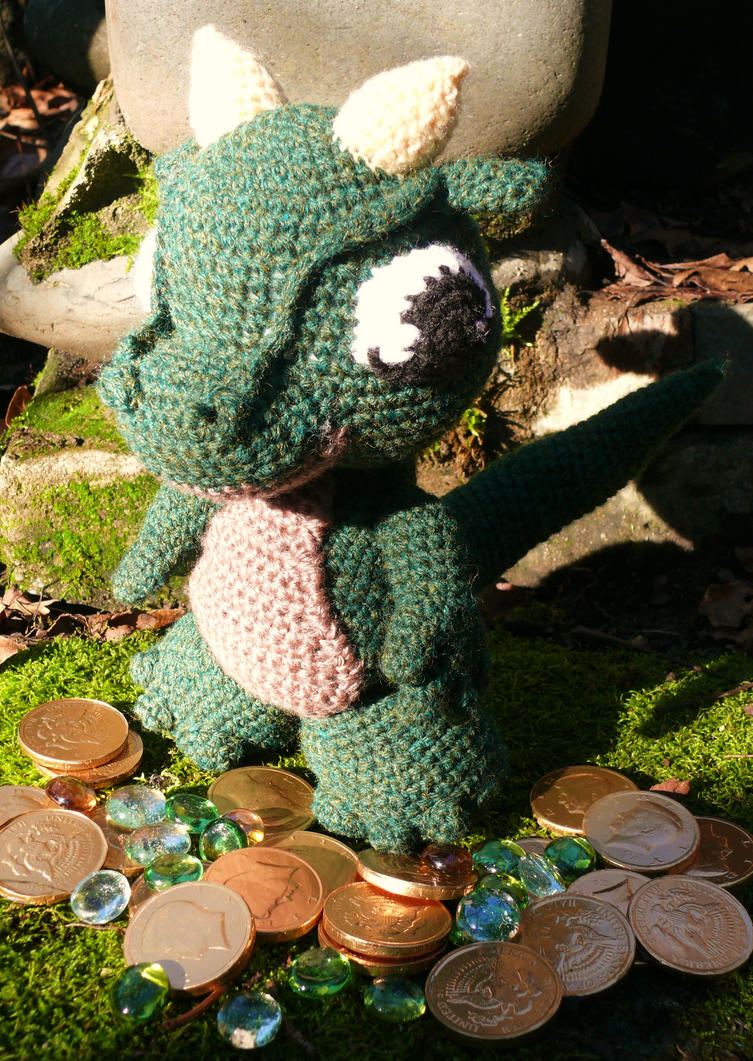
1. Luna > Dragon Pattern
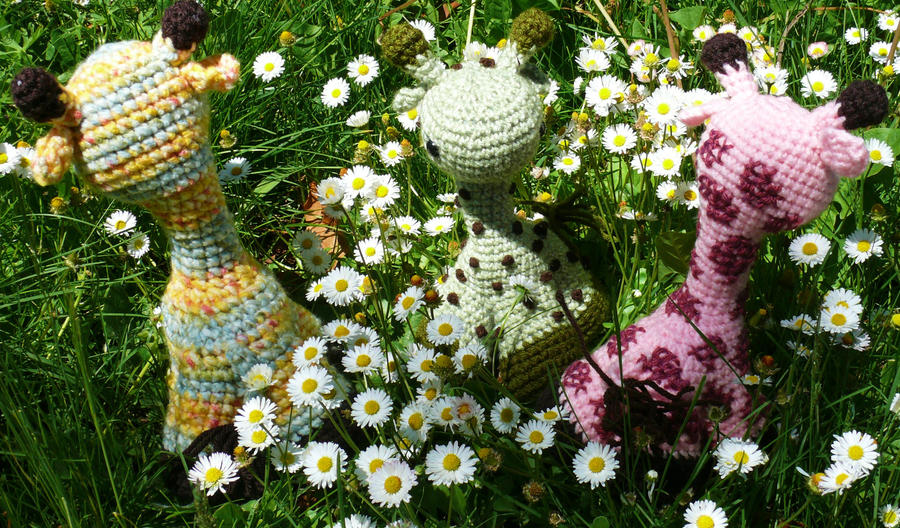
2. Lucy Longneck > Giraffe pattern
3. Fluttering Butterfly > Butterfly pattern
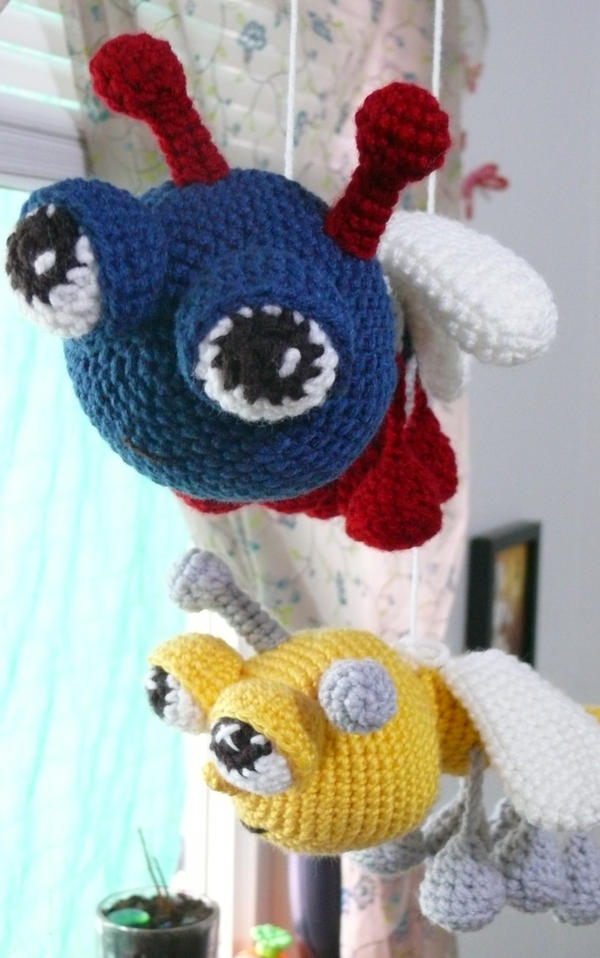
4. Dangling Dragonfly > Dragonfly pattern
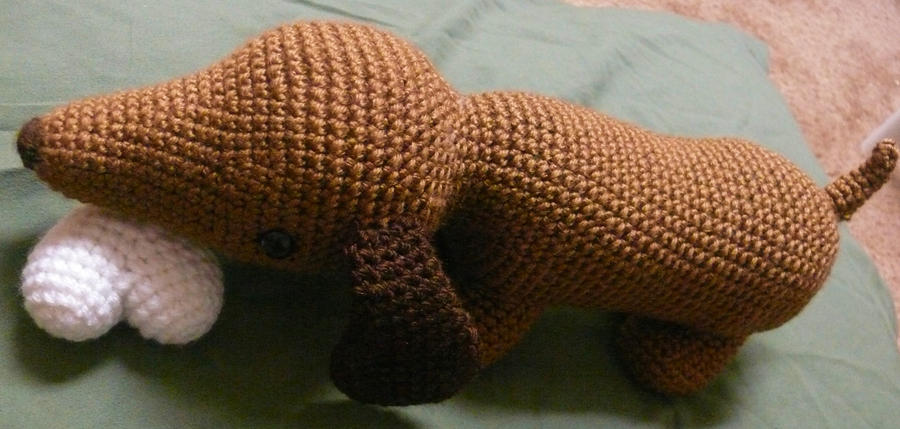
5. Schnitzel > Dachshund pattern
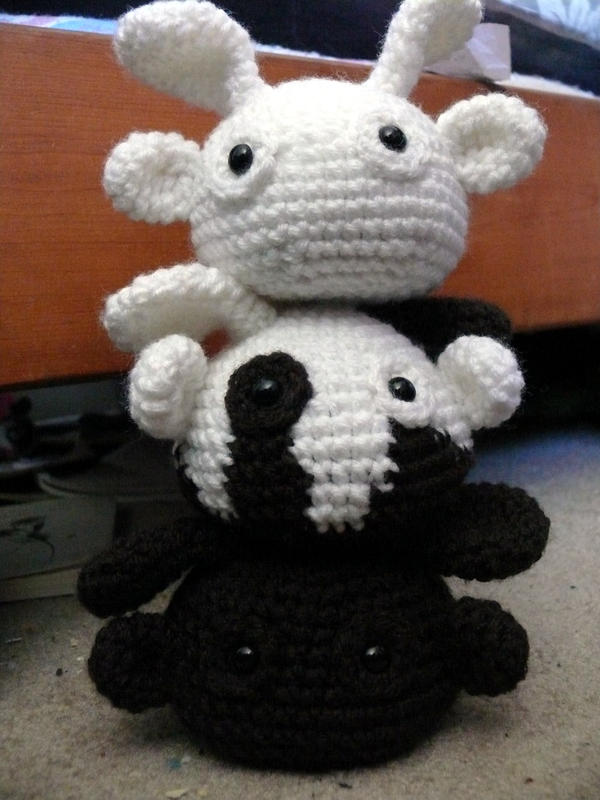
6. Fuzz > Dust Bunny pattern
7. Basil T. Koala > Koala pattern
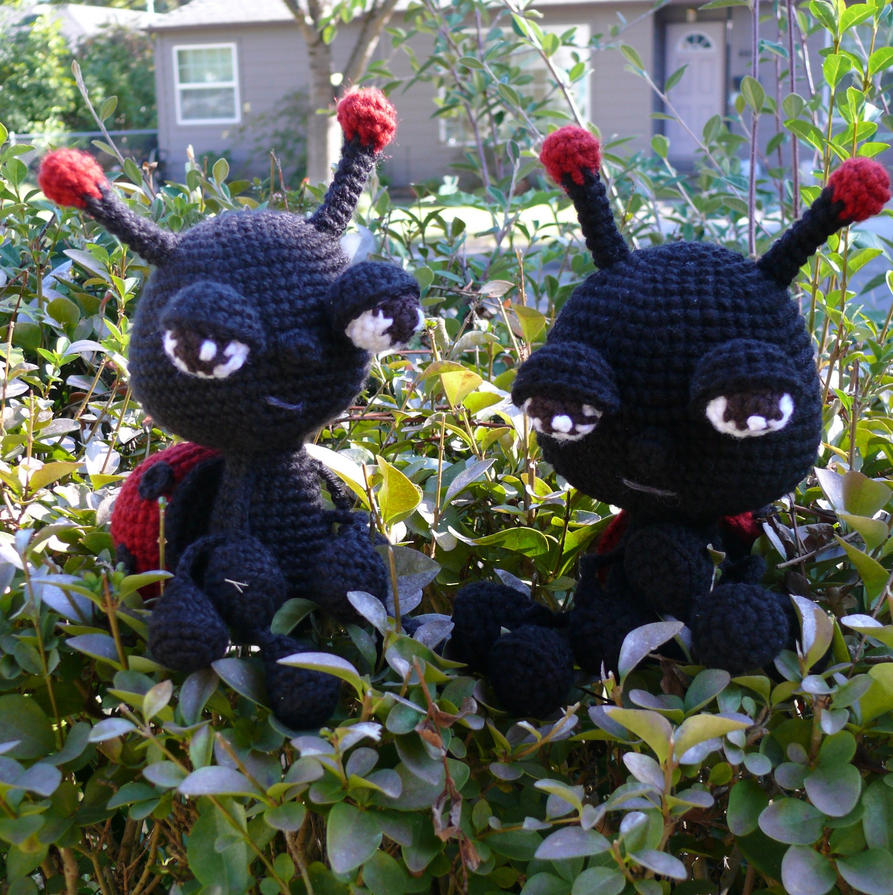
8. Lovely Ladybug > Ladybug Pattern
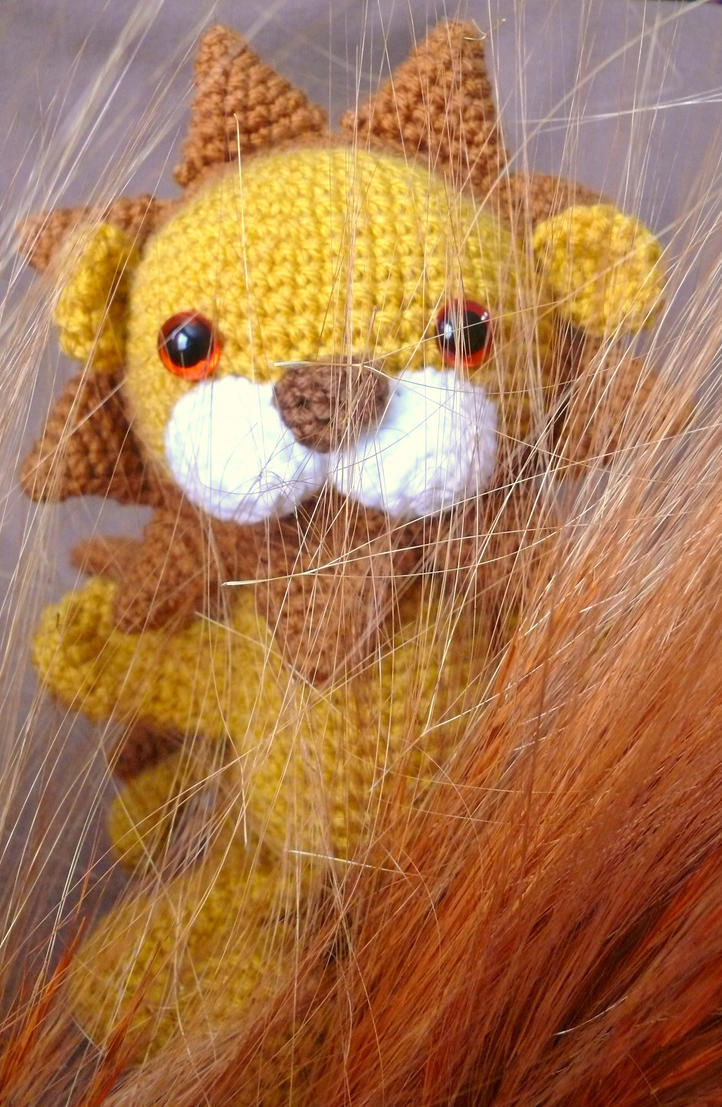
9. Sunny Lion > Lion pattern
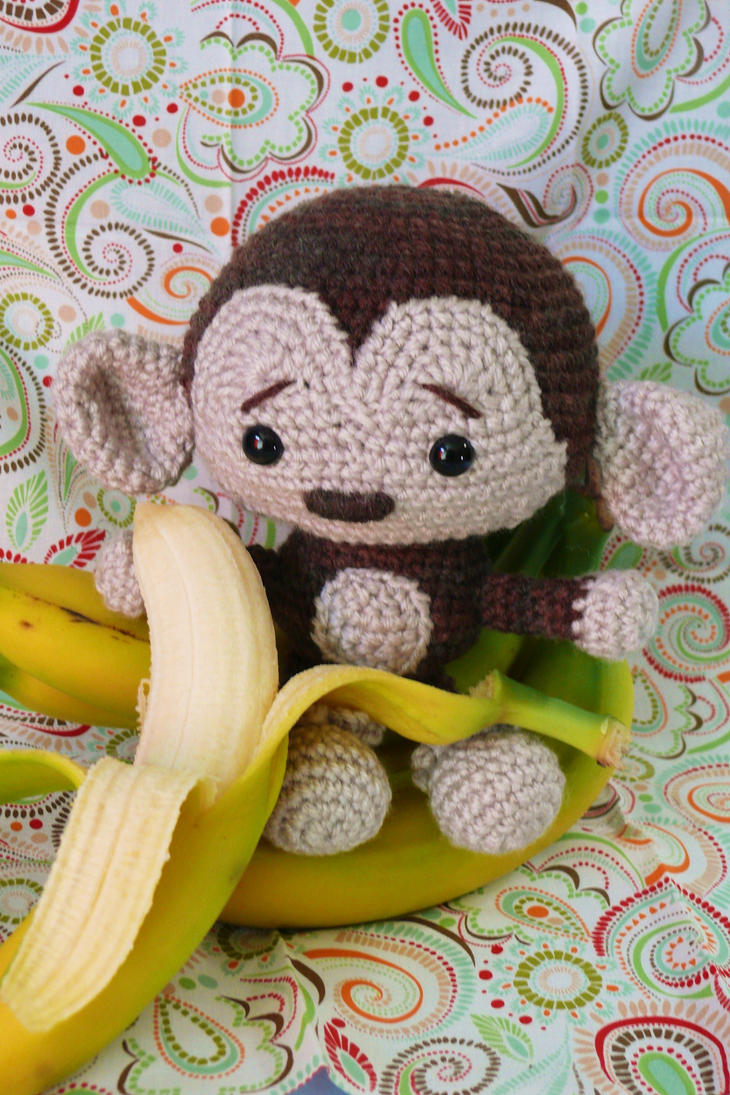
10. Marcel > Monkey pattern
11. Olive Octopi > Octopus pattern 
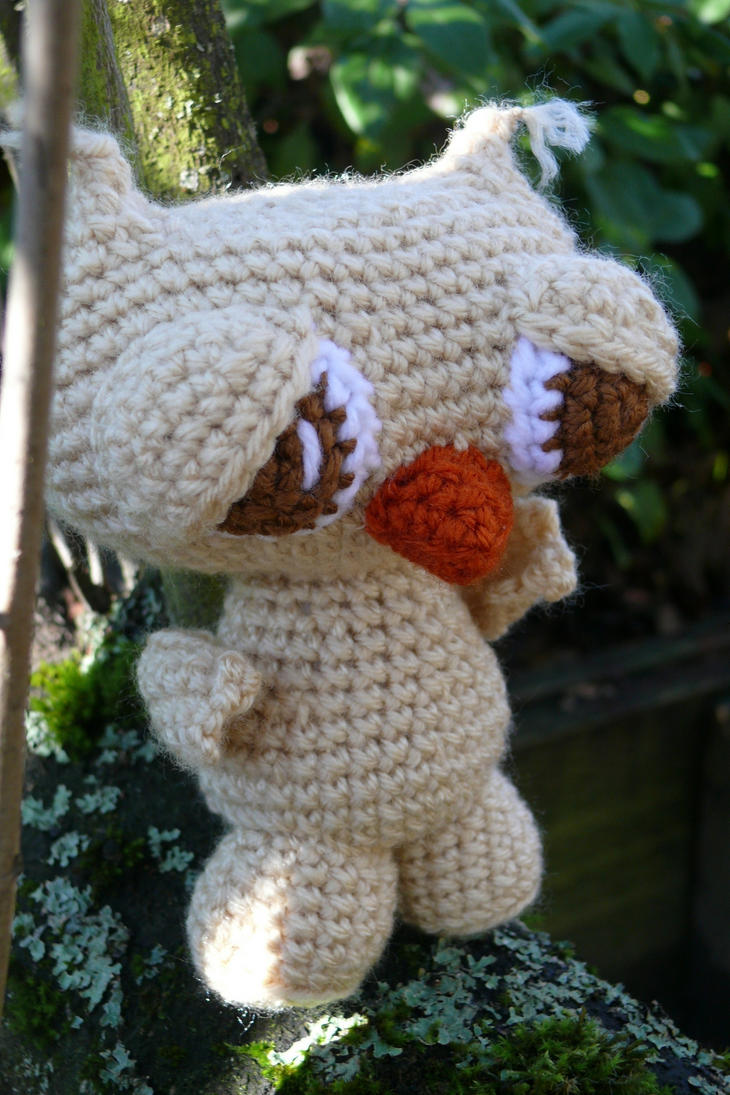
12. Ollie Owl > Owl pattern
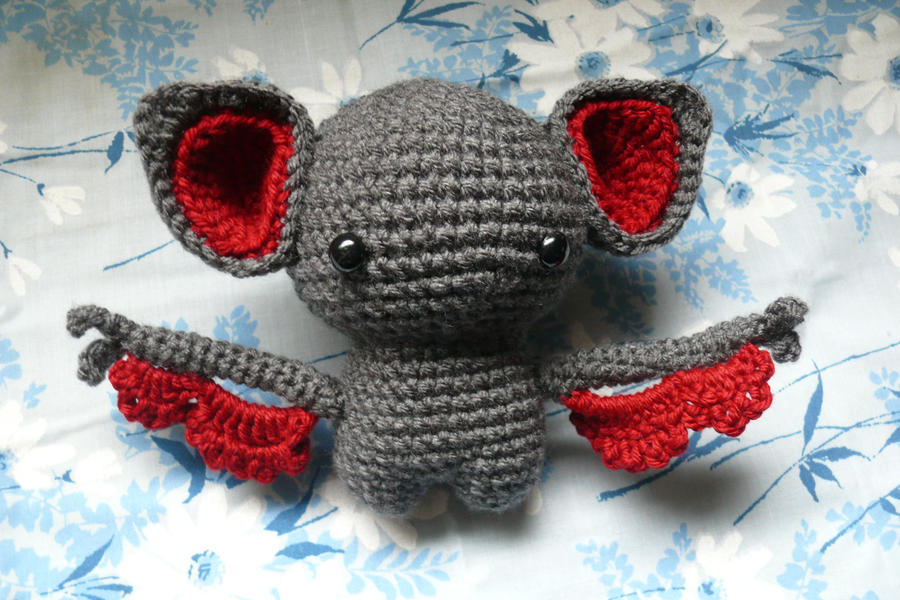
13. Bella La Batty > Bat pattern
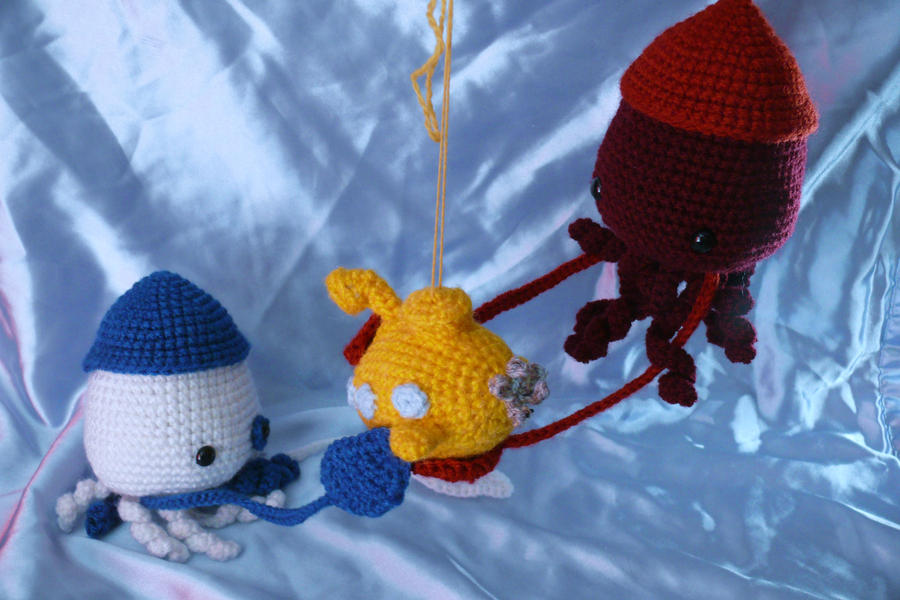
14. Cali Mari > Squid pattern 
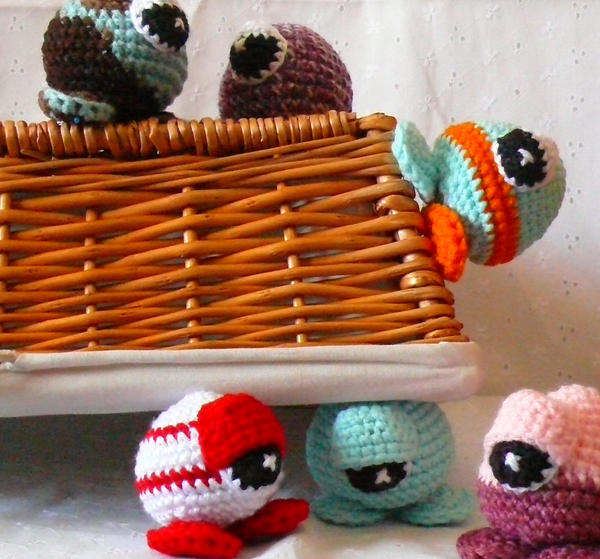
15. Sy Clops > cyclops pattern 
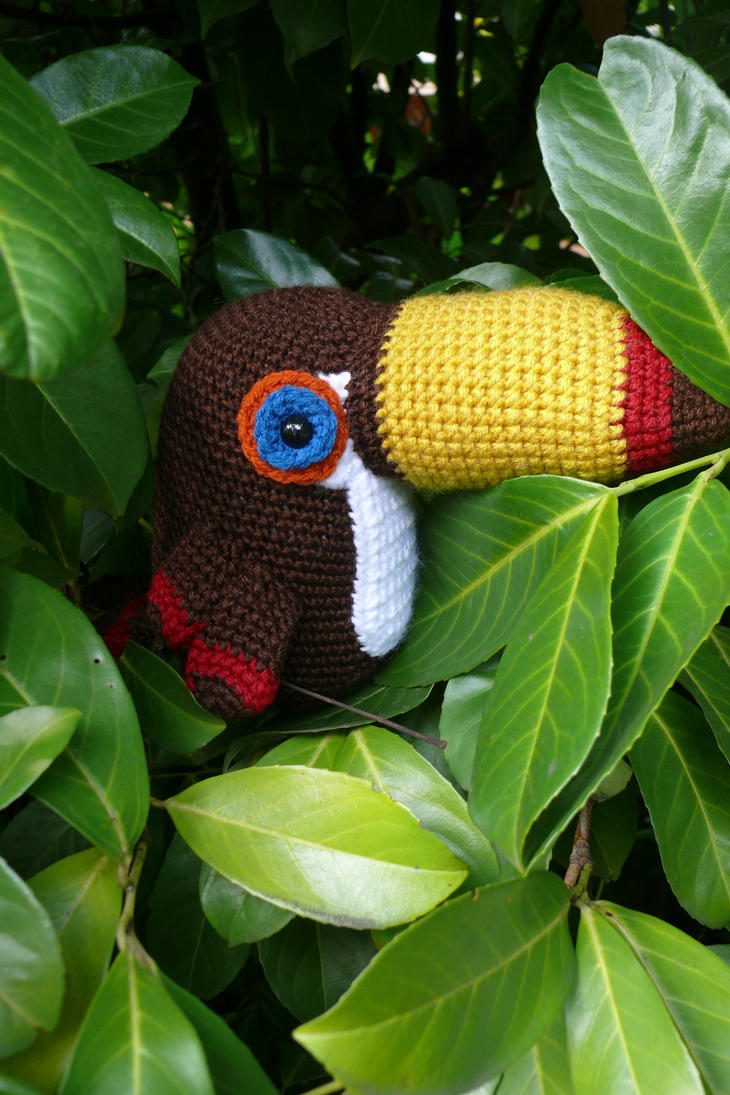
16. Beakman > Toucan pattern
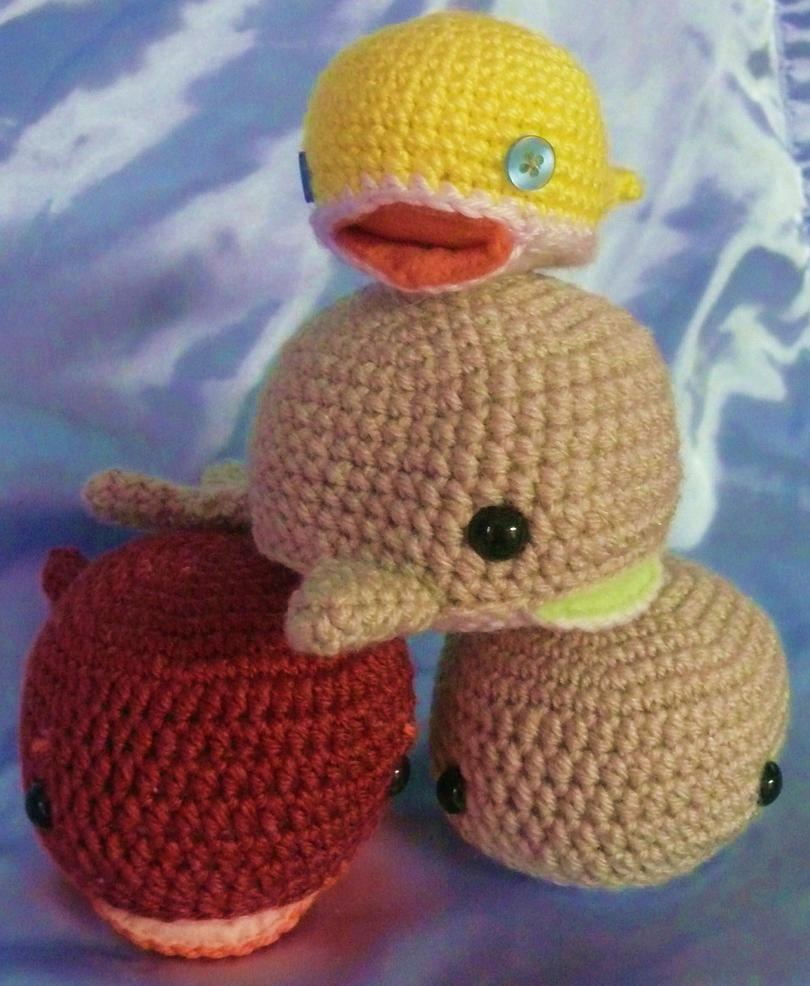
17. Tubs > Whale Pattern
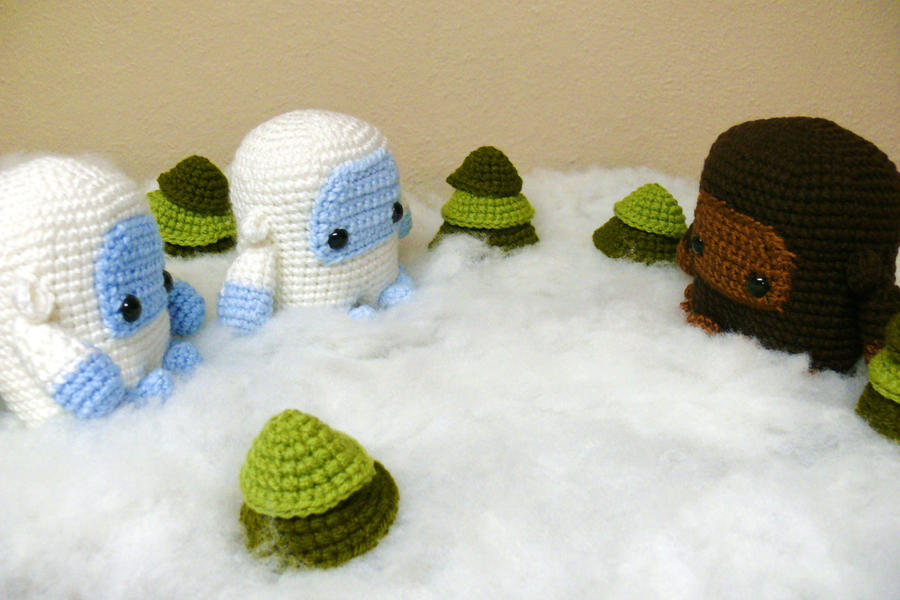
18. Snow F. Lake > Yeti

Thank you all for your help I'd be stuck without you guys.
Tweet this awesome blog

Monday, July 11, 2011

Oh Captain, my Captain!

A few months back I joined at team on Etsy. I'd never even heard of them until reading about it on Regretsy.com
That team was April's Army. Since then I witnessed, been part of, and recipient of so much generosity. Without the friendship and help I've received in recent months I wouldn't have the strength to keep fighting to get to a better place.

And now our hardworking and wonderfully supportive captain had found herself needing some help of her own.
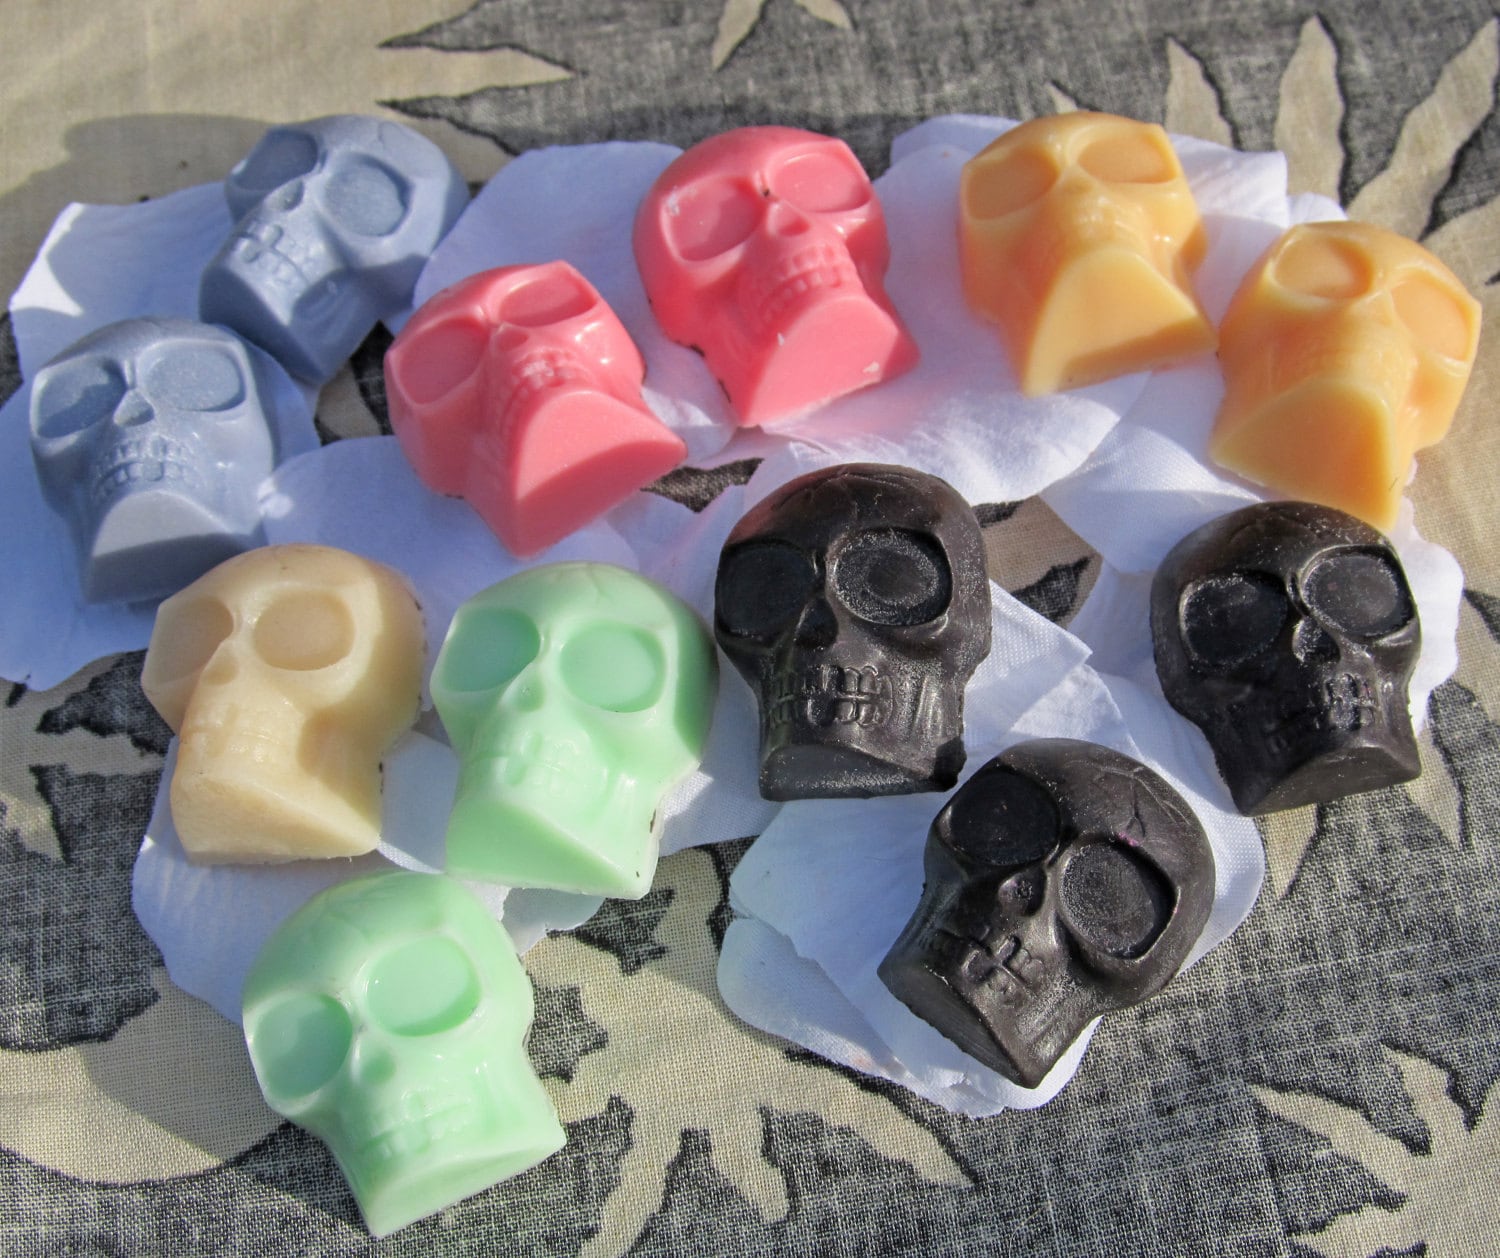
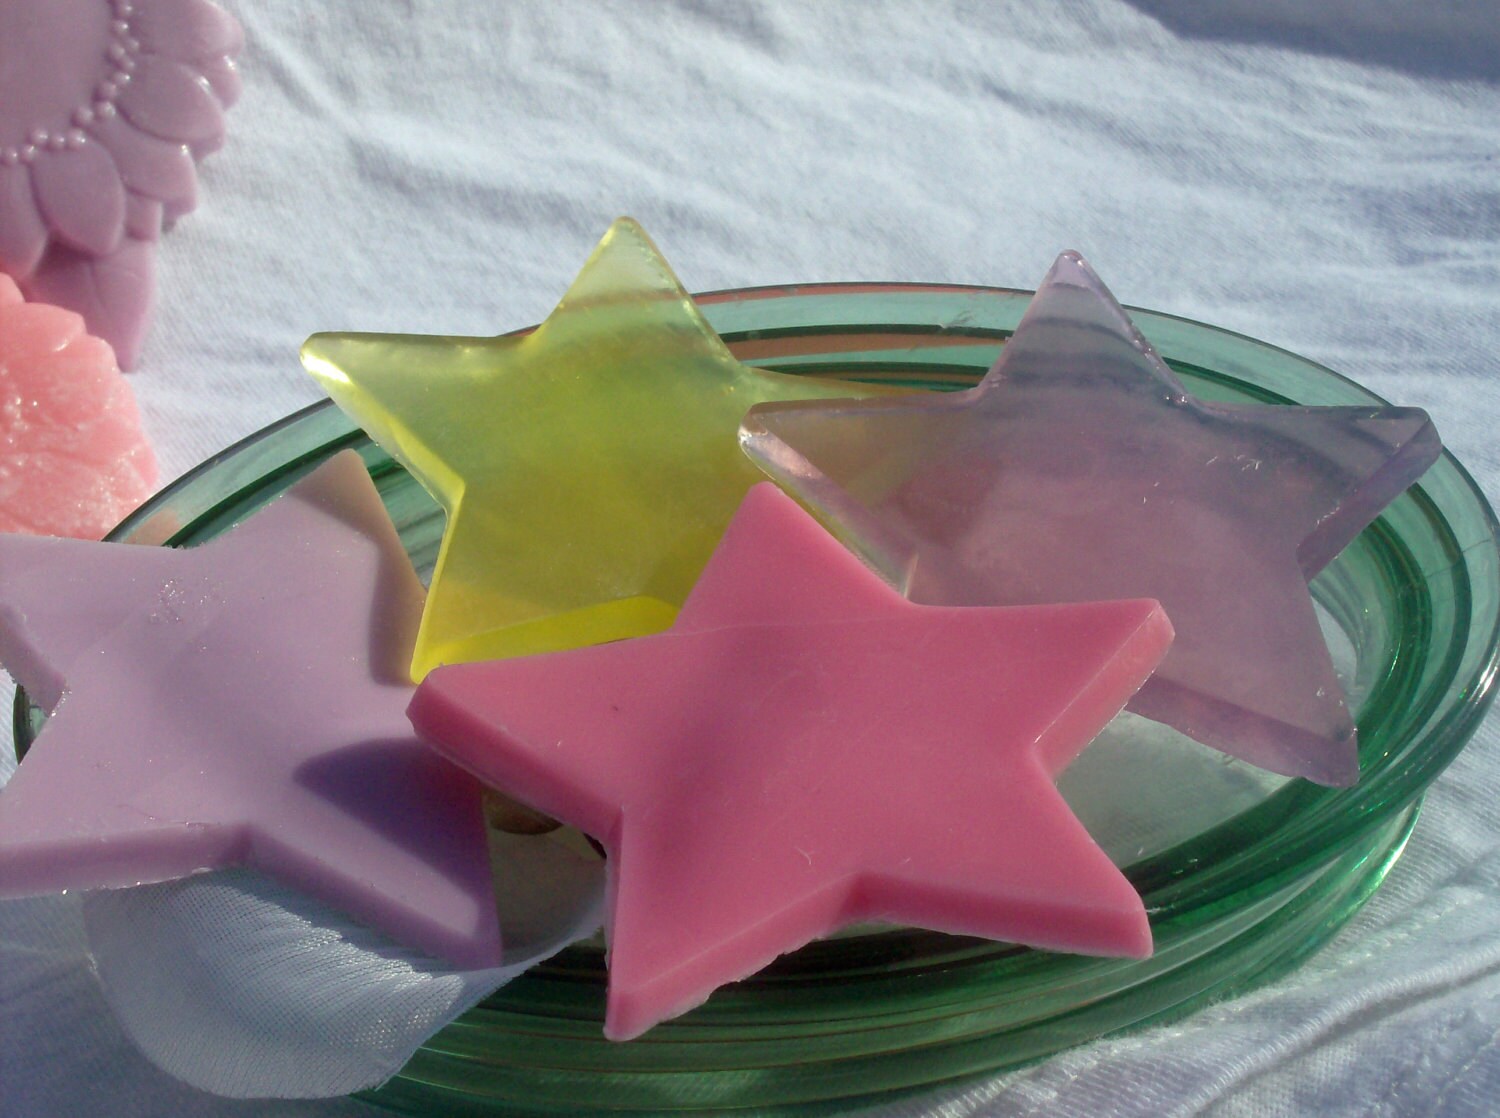
So check out her shop, grab some great soap if you can. If you like me aren't in a place where you can shop now than share the link. Spread the word on Facebook, or Twitter, stumbleupon, google +, reddit, digg...I think you get the point. Help a wonderful lady anyway you can. I know that for a lot of we're one financial emergency away from doom, so lets rally around Mary and giver her what ever we can to help.

Here's a sampling of her awesome soaps.


Tweet this awesome blog

Tuesday, June 28, 2011

Help me name my critters for the book

As you know I am lucky enough to have a pattern book coming out soon. But I need a little help naming the creatures made with the patterns. So I thought who better to ask than my readers? Below you'll find a picture of each creature, feel free to leave a name for as many or little as you like in the comment section.

1. Baby Dragon
2. Giraffe

3. Butterfly

4. Dragonfly

5. Dachshund

6. Dust Bunny

7. Koala

8. Ladybug

9. Little Lion

10. Monkey

11. Octopus

12. Sleepy Owl

13. Bat

14. Squid

15. Cyclops
This one already has a naame, Sy Clops, but other suggestions would be welcomed

16. Toucan

17. Whale

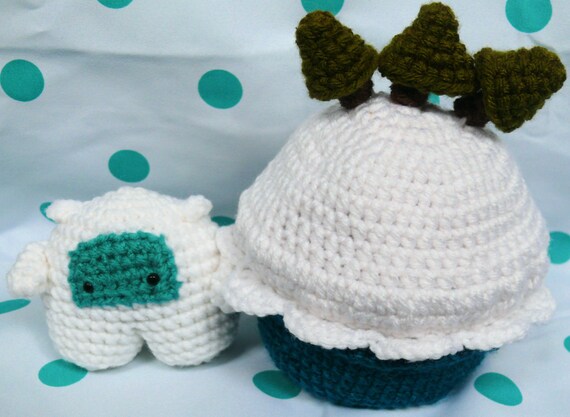
18. Yeti
Tweet this awesome blog

Friday, June 24, 2011

Where has the time gone?

Good lord I have no idea how I managed to go almost two months without posting. We've been trying to rearrange our house (and our lives) for the past few months. My poor blog has gotten lost in the shuffle.

The good new is my oldest munchkin will be home today, so you can expect lots of kid crafts coming up.
I'm going to reshoot the star wand tutorial and show you lovlies how to make a cape out of a pillow case. Plus we're planing a Dr. Suess tea party for the munchkins soon (for very little cash).

Until then I will leave you with some stuff I have been working on.

Tweet this awesome blog

Friday, April 29, 2011

Make your princess a glittering star wand

Welcome all! Last week was my son's 4th birthday and in lieu of a party (which never go well for me) we planned a birthday adventure for him and his older sister. They got to dress up in royal attire and among other things, slay a dragon, capture snakes and defeat a forest of spiders.
(plus a photo scavenger hunt)


For my daughter we made a tutu and crown and to complete the outfit I made her a glittering star wand.

Supplies;
glitter
Mod Podge
scissors
1/4 dowel cut to length (or a knitting needle like I used)
hot glue
some tulle, ribbon, or yarn to wrap around the wand

Here's how:
First I searched all over to find a good 3D star template and found it here


 Then I used GIMP to shrink it so that I could get two of them onto one page.


I cut them out and folded them to make the shape


Then I glued them together. I used Mod Podge but I would recommend hot glue cause it slipped around when I set it down to dry. Also cut a notch big enough for your wand (I used a knitting needle, though I bought a dowel that never got cut for it)


Apply Mod Podge to the star, be generous with the glue or you'll have empty spots.


The party was is in  pink and blue (they boy's favorite colors) so I alternated the colors.
Put hot glue on the tip of the dowel (or knitting needle), you can paint the dowel first, and push into the tip of star through the notch you cut.


Make sure you add enough hot glue so this doesn't happen.

Dress up the wand with ribbon or tulle and present it to your happy princess.


Next I'll show you how I made Little Man super easy pillow case cape (which he still wears)

Tweet this awesome blog

Sunday, April 24, 2011

Good stuff is on it's way

I have had probably the busiest month of my life but I have a more goodies to share with you soon!
Tweet this awesome blog

Sunday, April 3, 2011

Bunnies!!

So my birthday is coming up in six days :) and I thought I give you guys a few presents to celebrate.
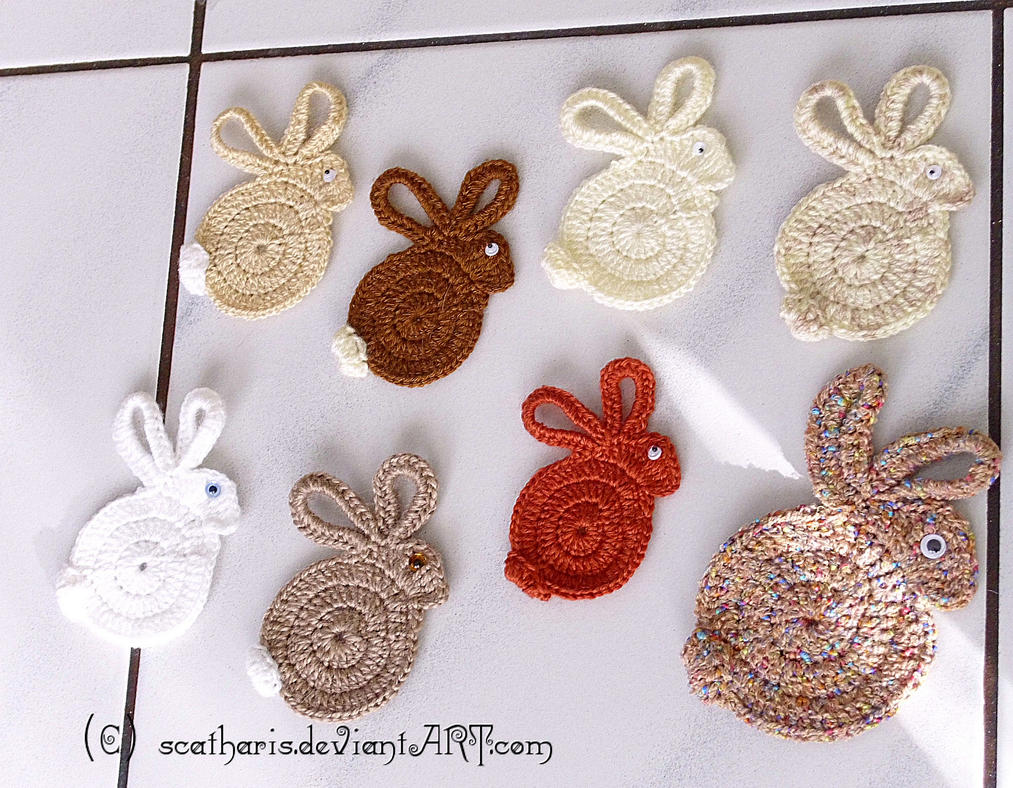
First up is the pattern for these cute little bunny appliqués.

I saw something similar; this to be exact

she found the pattern for these on a German forum, since I don't speak German I decided to make up my own version. I used scraps of yarn laying around and a G hook.


Abbreviations:
Ch - Chain
SC- Single crochet
DC- Double crochet
TRB- Treble crochet
SS- Slip stitch

Body
Foundation: Ch 3 9DC in first third Ch from hook


Row 1. *2SC in each* across


Row 2. *HDC 1   2HDC in next* across


Row 3. Ch 1  {2TRB} twice   2DC   HDC   Ch 12 SS in next SC   Ch 12 SS in same space, turn


SC 12 in each loop SS to any loop on back side of bunny.


Finish

(The pink one I actually did  left handed, it was hard but fun 
and know I'm thinking about learning to crochet well with my left hand)

To make the mirror image work the pattern through Row 2. 
for Row 3. Ch 12 SS in next SC   Ch 12 SS in same space, turn
SC 12 in each loop SC  to next   HDC   2DC   {2TRB} twice   Ch 1   SS to body.
Finish

Tail:
JWSC to body where you'd like the tail to go; 4DC   SC  finish


To make the bunting I chained 12 then put chains along the back of the bunny and one between the ears.
If they aren't laying flat for you, you can give them a quick iron (if your yarn will take it)


You can also give them some eyes, I wrapped some blue yarn around a TRB post twice and tied it off in the back, you could also glue on some google eyes.

These work up really quick, I managed to make few while rocking the fussy baby and waiting for our lunch to boil.
Tweet this awesome blog

Saturday, March 19, 2011

I'm a bad girl :(

I know I said there would be a paper ball tutorial this week, but the little one has be going through a growth spurt and has barely let me put her down most of the week and my original idea hasn't panned out like I wanted it too. I did start a nifty paper mache project I'll post a sneak peak of it a little bit later. I was inspired by the wonderful works of Ann Wood (and no it's not a boat...yet)
Check out her awesome teacup tutorial.


See  ya later!
Tweet this awesome blog